Unlocking Precision: The Digital Tape Measure Guide
This guide reveals how to achieve accurate measurements with a digital tape measure in six simple steps, making measuring tasks easier and more enjoyable. Whether tackling a home project or a professional task, these tips will help ensure precision every time they measure.
What You’ll Need to Get Started
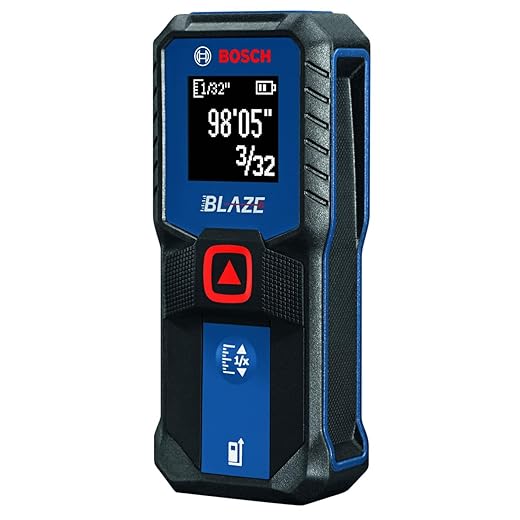
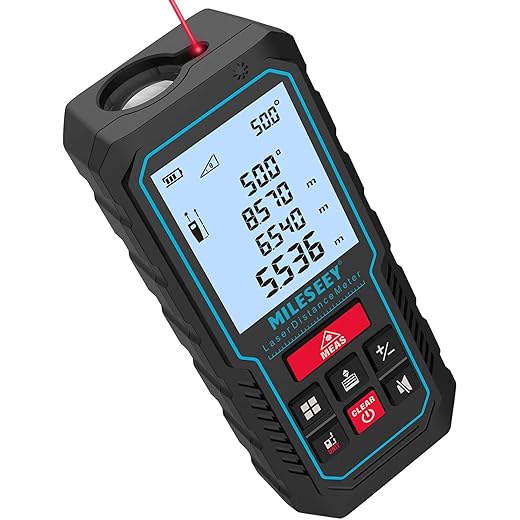
Step 1: Powering Up Your Digital Tape Measure
Is Your Tape Measure Ready to Go?Turn on your digital tape measure. Locate the power button, typically marked with a symbol or the word “Power.” Press it firmly until the display lights up, indicating that the device is ready for use.
Inspect the display. Familiarize yourself with the readings and symbols shown on the screen. For instance, look for the measurement units (feet, inches, centimeters) and any battery life indicators.
Check the battery status. If the display appears faint or unresponsive, it may need new batteries. Replace them as instructed in your device’s manual to ensure optimal performance.
Practice navigating the buttons. Most digital tape measures have functions such as “hold” to lock measurements or switch between units. Experiment with these features before starting your tasks to avoid confusion later on.
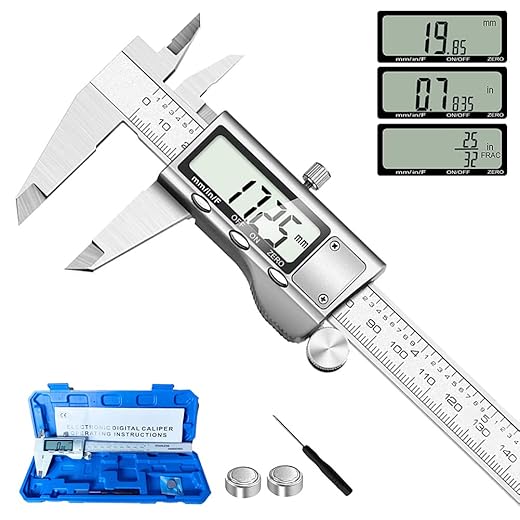
Step 2: Understanding Measurement Units
Inches, Feet, or Meters – What’s Your Preference?Select your desired measurement unit on the device. Most digital tape measures support multiple units, like inches, feet, and centimeters. Choose the one that best suits your project’s requirements.
Recognize context for measurement. For example, when measuring in the United States, inches and feet are typically used for home improvement tasks, while centimeters are preferred in many other countries, especially for precise scientific work.
Adjust the settings. Use the unit toggle button on the digital tape measure to switch between units effortlessly. This feature allows for quick adaptations depending on the materials or specifications required.
Remember the importance of consistency. Mixing units can lead to errors—so stick with one system throughout each project. Taking this step ensures that he or she avoids frustrating discrepancies in measurements.
Step 3: Setting Up for Accurate Readings
The Foundation of Precision: Positioning is Key!Position the tape measure’s end securely at the starting point. He or she should press the hook against the object, ensuring it sits flush against the surface.
Keep the tape measure level. Pull it straight and avoid any angles that might bend the tape. For instance, if measuring a wall width, ensure that the tape runs horizontally rather than at a slant.
Stabilize the tape measure. Use one hand to hold the tape at the starting point while the other retrieves measurements. This will help prevent any slip or movement that could result in an inaccurate reading.
Check for obstacles. Clear any items from the path of the tape measure to ensure it can extend without obstruction. A clean workspace simplifies the process and minimizes potential errors.
Step 4: Taking Your Measurement
Ready, Set, Measure! The Moment of Truth.Extend the tape measure to the endpoint. Gently pull the tape out until it reaches the desired measurement point. Make sure the tape remains straight to avoid bending, which can lead to inaccuracies.
Press the measurement button. Once at the endpoint, he or she should firmly press the button designated for capturing measurements, often labeled “Measure” or “Hold.” This will lock in the reading for easy viewing.
Read the display. Observe the screen for the final measurement. For example, if he or she is measuring the length of a room, the display may show “12 ft 6 in.” Ensure that the measurement is clearly visible.
Verify the measurement. If there’s any doubt, he or she can repeat the process for confirmation. Taking multiple measurements will help ensure accuracy and reliability.
Step 5: Recording Your Data
The Power of Documentation: Don’t Forget to Note It Down!Document measurements immediately. As each measurement is taken, write it down in a notebook or digital tool. This keeps the data organized and easy to reference later.
Use a consistent format. For instance, if measuring multiple rooms, list each room with its corresponding dimensions. Example:
Highlight key details. Include notes about the specific conditions, like the angle of the tape or any obstacles encountered. This information can be invaluable for future reference.
Avoid clutter and confusion. Ensure that the recording space is free from distractions. A clean environment will help maintain focus and accuracy while noting down all measurements effectively.
Review as you go. Periodically check the recorded data against the measurements to ensure accuracy. Consistency is key to a successful project.
Step 6: Reviewing and Double-Checking
Double-Check Your Numbers: Better Safe Than Sorry!Examine all recorded measurements carefully. After taking each measurement, he or she should review what has been documented. This step is crucial because even minor inaccuracies can impact a project.
Measure twice for reassurance. Return to the critical points and take the measurements again. For instance, if measuring a cabinet space, obtaining two separate readings can guarantee precision.
Compare results. Look for consistency between the initial and subsequent measurements. If discrepancies arise, he or she should reconsider the setup and methodology, checking for any potential errors in technique.
Stay organized. Keep all measurements grouped logically, perhaps by location or purpose. A tidy record will make it easier to spot mistakes and ensure a successful project.
Mastering Measurements with Ease
By following these six steps, he or she can easily gain confidence in using a digital tape measure, ensuring precise measurements every time. They are encouraged to give it a try and share their results with friends. Happy measuring, and let accuracy lead the way!


I love how simple this guide makes everything! I’m excited to finally get those measurements right!
So glad to hear that, Hannah! Happy measuring!
Yes! Let’s all get those perfect measurements together!
I didn’t realize there were so many steps to using a digital tape measure! 😅 Is it really that complicated?
It might seem like a lot, but once you get the hang of it, it’s super easy! Just take your time with each step.
Nah, it’s pretty straightforward once you read through it. Just take your time!
Anyone else having trouble with the app that connects to their digital tape measure? Mine keeps crashing!
I had that issue too! Make sure your phone is updated!
Yikes! That sounds frustrating. Have you tried reinstalling it?
The setup step was a bit confusing. Can anyone clarify what they meant by ‘setting up for accurate readings’?
Yeah, I read that part too. Just make sure you’re not leaning or tilting.
Of course! It’s all about ensuring the tape is straight and your body is stable.
This guide should come with a video! I learn better watching than reading!
Good suggestion, Olivia! We’ll consider adding video content in the future.
Totally agree! Visuals would help a lot!
I tried the steps, and honestly, it’s not as easy as it looks. I kept messing up the recording part. Any tips?
Practice makes perfect, Kevin! Just make sure to double-check your numbers.
Yeah, I had a bit of trouble there too! Maybe try taking a photo of the measurements?
Why don’t more people talk about the benefits of digital tape measures? This guide has opened my eyes! I’m sold!
Thanks, Jessica! Digital tape measures are definitely underrated!
Right? They’re like magic measuring sticks!
Could someone explain the double-checking step? I kind of skimmed over that part. Is it really necessary?
Yeah, I always double-check! You never know when a measurement can throw everything off!
Absolutely! It can save you from costly mistakes later.
Great guide! I had no idea about the different measurement units. I always just guessed! 😬 Definitely going to follow these steps next time!
Glad you found it useful, Emily! It’s amazing how much accuracy helps!
Same here! I was a total guesser too… not anymore!
Wow, this guide is super helpful! I’ve always struggled with measurements, especially when it comes to DIY projects at home. I can’t believe how easy it is to use a digital tape measure now! Can’t wait to try it out this weekend! 😊
Thanks, Sarah! Let us know how it goes with your DIY project!
Digital tape measures are a game changer! I never thought I’d get excited about measuring stuff, lol!
I think I’ll stick to my old tape measure. Digital sounds cool, but what if the battery dies? 🤔
Totally valid concern, Megan! Just keep an extra battery on hand.
True! But they’re usually pretty reliable and last a long time.
Okay, but can anyone tell me how to keep the tape measure from retracting too fast? I feel like it’s a race sometimes! 😂
Great question! Most digital tape measures have a lock feature to help with that.
LOL! I totally get that! Just press the button and hold it while measuring.
Anyone else think digital tape measures should have a built-in calculator? That would be epic! 😄
Haha, that would definitely be a cool feature, Paul!
Right? Save us so much time!